As a radiology technician tasked with operating the GE Signa Voyager magnetic resonance imaging (MRI) system, few things are more frustrating than when the machine suddenly stops working and displays an obscure error message.
While errors can occur for a variety of reasons, having an understanding of some of the more common issues and how to troubleshoot them can help technicians get the MRI operating again quickly.
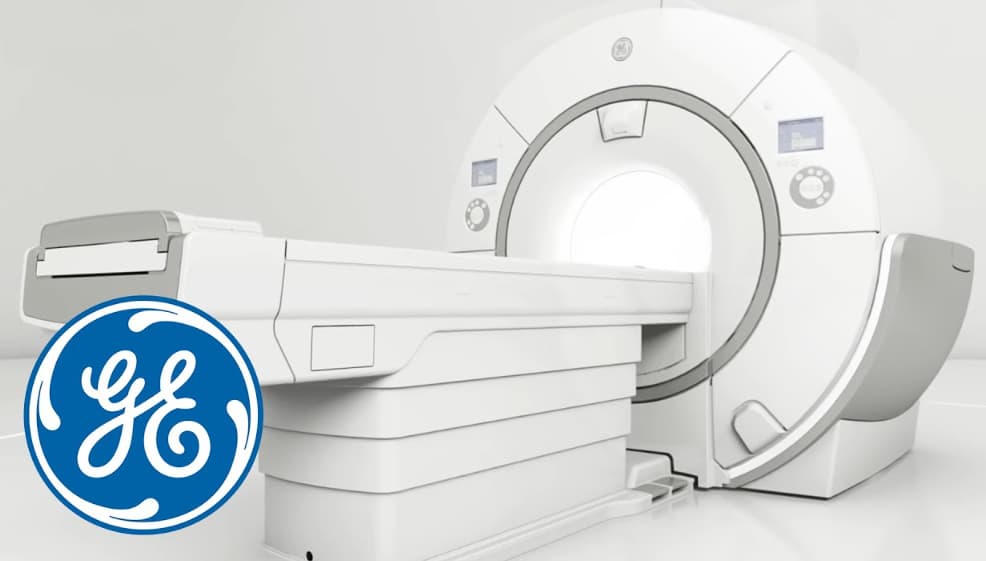
GE Signa Voyager MRI Machine Not Working
In this guide, we’ll break down some of the frequent error messages on the Signa Voyager, look at their potential causes, and discuss steps for troubleshooting.
Common Error Messages and Where to Start?
Some of the more routine error messages you may encounter on the Signa Voyager include:
- System Fault 111 – Gradient Power Supply Overcurrent
- System Fault 177 – RF Power Problem
- System Fault 711 – Gradient Coil Quench Detected
- System Fault 2001 – Table Motion Error
When these types of faults occur, the first step is to make sure all patient or operator contacts with the system have been removed and try rebooting the main system from the main operator’s console. Often a system reboot will clear transient errors and allow scanning to continue.
If a reboot does not resolve the issue, checking the system’s logs and fault history can provide insight. On the main operator console, navigate to the Service Browser.
Select “MR System Fault History” to see details on recently occurring faults. Oftentimes the description here provides useful clues as to the source of the problem.
We’ll break down some of the common issues indicated by the above error codes and steps to resolve them.
Troubleshooting Specific Error Codes While GE Signa Voyager MRI Machine Not Working
Gradient Coil Power Supply Overcurrent (System Fault 111)
The gradient coil power supply provides power to the MRI’s gradient coils – essential components that generate the linear-varying magnetic fields used to code spatial information into the main B0 magnetic field. If the system detects the gradient power supply is drawing excessive current, it will shut down the power supply to prevent damage and show a System Fault 111.
Potential causes include:
- Cooling fan failure – If the power supply overheats, the current draw increases. Check fans and filters for proper operation.
- Power component failure – Faulty capacitors, transistors, etc can lead to overcurrent. Inspect supply boards and components for signs of failure.
- Issues with gradient coil itself – Shorts, copper damage, or cracks in the coil can prompt overcurrent. Check the physical condition of the actual gradient coil apparatus.
To troubleshoot further:
- Inspect gradient power supply boards and fans to rule out cooling or component issues.
- Open service panels around gradient coil and carefully inspect the condition of copper traces and windings looking for cracks, wear, or pinched wires.
- Use a multimeter to check continuity across gradient coil windings watching for shorts.
- If no physical cause is found, the gradient power supply may need to be replaced.
RF Power Issues (System Fault 177)
The RF transmission system generates the RF pulses used to manipulate proton spin and acquire signals from the patient. RF power errors typically indicate a fault in the RF power amplifier or its components.
Potential causes include:
- Faulty RF amplifier power transistors – These can fail over time leading to power interruptions.
- RF amplifier overheating – Check cooling fans and heat sinks on the amplifier housing.
- Damage to RF components like capacitors or induction coils
- Issues with the transmission line to the RF coil itself
Steps to troubleshoot:
- Verify fans and heat sinks operating properly on the RF power supply housing.
- Inspect RF amplifier circuit boards for damaged capacitors, coils, and transistors.
- Using a network analyzer, check the RF transmission line and coil for damage.
- Replace any obviously faulty RF power supply components.
- Conduct coil calibration procedure to check for subtle issues.
- If unresolved, the RF amplifier may need replacement.
Gradient Coil Quench Detection (System Fault 711)
A quench occurs when a superconducting MRI gradient coil loses its superconducting state and suddenly becomes resistive – often due to an unexpected energy spike. This will trigger the immediate automated shutdown of gradient power to prevent damage.
Potential sources include:
- Power supply voltage spike – Checks power conditioning equipment like uninterruptible power supplies (UPS).
- Cooling system disruption – Low cryogen levels or helium pump failure can cause quench. Verify cryogen levels and supply.
- Mechanical stress on the coil itself – Loose fasteners, patient contact, and table vibrations could physically stress gradient windings. Check mechanisms and mounts.
Troubleshooting steps:
- Check power conditioning equipment and electrical supplies for proper voltage control.
- Examine gradient coil mounts and fasteners for signs of looseness or mechanical stress.
- Verify proper cryogen fill level and no alarms with the cooling system itself.
- Run a full set of gradient coil resistance and continuity checks watching for shorts.
- If no obvious cause is found, may need to repeat automated calibration procedures for the gradient subsystem.
- Persistent quenches will require a gradient coil replacement.
Table Motion Errors (System Fault 2001)
Issues with the patient table top moving in and out of the bore are commonly due to problems with the table motor, drive train, or sensors.
Some potential causes include:
- Encoders or limit switches defective – Controls table movement and reports position to system.
- Gearboxes or drive belts damaged – Physical components that move the table itself.
- Motor or actuator malfunction – Broken motor or failed actuator.
- Cables damaged or disconnected – Communication issues between components.
Steps to troubleshooting:
- Inspect limit switches and optical encoders ensuring proper connections and alignment. Replace obviously faulty switches or sensors.
- Check drive belts and gearboxes for broken gears, damaged belts, etc. Confirm adequate lubrication.
- Verify unobstructed table motion by manually sliding the table in and out checking for sticky spots in travel.
- Inspect patient table motor, actuators, and cables for damage. Ensure firm connections.
- If issues continue, disconnect and replace suspected faulty components one by one until the issue is resolved.
With normal MRI maintenance combined with visual inspections, resistance measurements, automated calibration routines, and eventually replacement of any damaged subcomponents, even obscure error messages can often be overcome, allowing patients to be scanned and avoiding costly system downtime or service calls.
While the steps above address some of the major errors, always reference GE support documentation for model-specific troubleshooting advice.
How to Prevent GE Signa Voyager MRI Machine Not Working Issue in the Future?
While even properly maintained MRI systems can occasionally generate errors, following best practices can minimize failures:
- Closely adhere to recommended maintenance schedules for components like cryogen systems, RF amplifiers, gradient subsystems, and more. Don’t let preventative maintenance become an afterthought once operational challenges are resolved!
- Continuously monitor temperatures, pressures, voltages, and other critical parameters – Don’t wait for alarms and error messages!
Take proactive steps to reduce component stress:
- Avoid unnecessary movement of gantry components.
- Carefully center patients in the bore.
- Eliminate exposure to unnecessary vibrations or contact.
- Maintain a clean, temperature-controlled exam room environment.
- Implement comprehensive operator training programs focusing on QA procedures and proper machine operation.
- Continually budget for upgrades, refurbishment, and proactive component replacements as systems age.
Catching small issues before they cascade into major fault conditions greatly reduces hasty troubleshooting efforts!
While MRI is an incredibly complex integration of powerful magnetics, sensitive RF transmission technology, and sophisticated computing – taking the time to tackle problems systematically, understand root causes, and focus on prevention can help significantly reduce situations of staring helplessly at a cryptic System Fault message.
Mastering the basics of addressing the common issues explored above is a great starting point for gaining back operational confidence even in tricky situations.
Leveraging Service and Support Contracts:
Even with the most diligent preventative maintenance and troubleshooting efforts, MRI systems can occasionally have complicated issues arise that strain the capabilities of in-house technicians.
In these situations, it’s invaluable to have the backstop of a GE Healthcare service contract.
Preventative Maintenance Details
To ensure optimal uptime of the GE Signa Voyager, mapping out a comprehensive preventative maintenance plan is critical. Technicians should adhere to a range of regular maintenance activities including:
Daily Checks:
- Visual inspection for any physical damage, wear, or fluid leaks.
- Verify no errors with the cryogen vacuum-insulated evaporator system.
- Confirm helium level readings in the magnet reservoir tank are in an acceptable range.
- Check gradient coil conductive traces for oxidation and re-apply protective glycol gel if needed.
Weekly Maintenance:
- Thoroughly clean RF coil housings and transmission lines to prevent signal artifacts.
- Inspect the condition of cabling throughout the system looking for cracks or cable flex damage.
- Confirm fully stocked spare parts bin including common items like optical encoders, limit switches, and circuit boards.
Monthly Upkeep:
- Run automated gradient coil resistance and inductance calibration routines.
- Perform RF transmission signal validation measurements using a phantom test object.
- Inspect RF amplifier cabinet cooling fans for dust buildup or excessive vibration.
- Check RF door seals, washers, and gaskets – Replace any with signs of wear/tear.
Quarterly/Annual Tasks:
- Complete intensive 200+ point preventative maintenance checklist.
- Disassemble gradient power supply chassis to air-dust clean interior components.
- Conduct careful visual inspection of gradient coil windings for signs of physical defects.
- Back up the main application database and operating system image to external storage.
Proper planning and diligent maintenance logging are also critical for budgeting parts/service needs over the lifespan of the scanner. As systems age past 5-7 years, technicians should expect a rise in labor hours and parts replacement costs to maintain uptime.
Component Lifecycle Management
In addition to preventative upkeep, taking a proactive approach to replacing components most prone to failure can maximize uptime. Analysis of part replacement records reveals a subset of “bad actor” parts driving a disproportionate share of downtime. Priority items include:
- Gradient amplifier transistors – Fail up to 3X more than other power components.
- Table motor encoder discs – Prone to calibration drift over time.
- RF transmission line elements – Damage or wear degrades the signal.
- Cryocooler motor assemblies – High failure rate in extreme operating environments.
Technicians should pay special attention to these problem-prone elements, potentially replacing them preemptively rather than waiting for outright failure.
Mathematical reliability models suggest the optimal replacement interval for gradient amplifiers for example is around the 4.5-year mark based on balancing costs of proactive swap versus repair downtime expenses when the part fails unexpectedly.
Facilities can also qualify and validate “generic” replacement parts from third-party sources to manage expenses, provided they pass all calibration and quality checks.
Keeping stock of common wear parts helps minimize lead times and downtime when they inevitably need replacement as well.
Deep Dives on Technical Concepts
Since this article is aimed at technicians directly responsible for troubleshooting tricky MRI issues, it’s worthwhile diving deeper into some of the advanced physical and engineering concepts at play to strengthen their overall operating knowledge:
- Expanding on specifics of gradient coil windings for example, these meticulously wound wire coils follow complex mathematical patterns in order to translate electric current into highly linear magnetic field gradients across the imaging volume. Technicians should understand the principles of discrete Fourier transforms to perceive how sinusoidal waveforms compound to approximate square wave pulses needed for rapid field shifts.
- Similarly, fluency in principles of RF antenna design allows deeper troubleshooting of signal issues arising from damaged or miscalibrated coils. Critical concepts like impedance matching, decoupling, electromagnetic propagation, and acceleration-induced eddy currents in surrounding structures all impact coil performance in subtle ways technicians should grasp.
- Even fundamentals of cryogenics physics play a role for technicians tasked with the upkeep of the liquid helium bath critical for driving MRI magnets and cold heads for gradient cooling. Comprehending the implications of non-linear temperature-density curves, oxygen contamination, and two-phase liquid-gas helium cleanup operations allows proactive management of potential problems.
- Supplementing hands-on servicing skills with immersion in these technical principles separates average MRI repairmen from true MRI physicists able to wrangle even the most problematic systems back into reliable operation!
GE Customer Support Phone Numbers:
Get in Touch
- Accounts Receivable – 1.800.437.1171 (option 3, 3)
- Service Assistance (Canada) – 1.800.668.0732 (option 1)
- Parts & Accessories – 1.800.437.1171 (option 2)
- Product Assistance – 1.866.281.7545
- Service Assistance (United States) – 1.800.437.1171 (option 1)
More Related Guides:
- Philips EPIQ Elite Ultrasound Machine Screen Not Working
- Masimo Rad-57 Pulse Oximeter Not Working in Cold Weather
- GE Healthcare MAC 5500 ECG Machine Not Working
- ZOLL AED Plus Defibrillator Not Working After Battery Change
Conclusion:
The article “GE Signa Voyager MRI Machine Not Working” provides troubleshooting guidance for common error codes that can arise with the GE Signa Voyager MRI scanner related to the gradient coils, RF transmission, cooling systems, and patient tables.
It stresses the importance of preventative maintenance and outlines detailed troubleshooting steps technicians can follow to diagnose root causes of electrical shorts, component wear, loose connectors, etc. when faults occur.
The discussion also covers different tiers of GE service contracts facilities can leverage when issues exceed on-site troubleshooting capabilities.
Additional topics aim to expand technicians’ MRI maintenance knowledge through reliability analysis of problem-prone parts, best practices for cryogen handling, and deep dives into physics concepts like RF shielding design.
The conclusion urges technicians to hone skills via rigorous preventative upkeep, expanding technical intellect, and embracing routine and complex MRI troubleshooting.
This comprehensive approach aims to maximize the availability and uptime of the sophisticated Signa Voyager system.